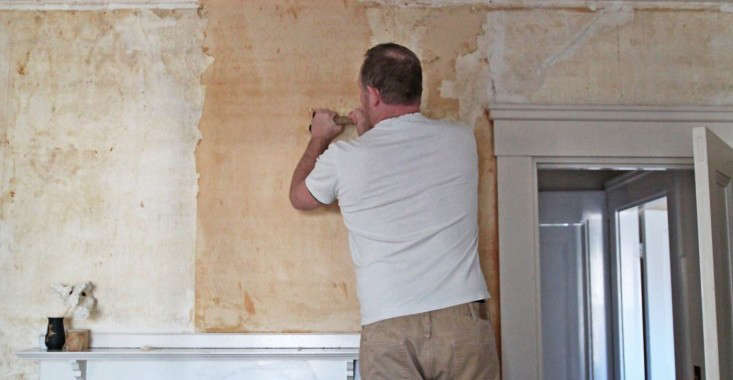
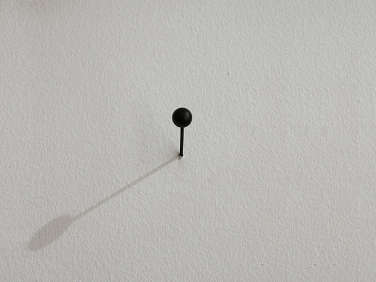
After wreaths and framed artwork come down, what are you left with? Walls and doors with random holes from nails and tacks, the bane of many a real estate broker. How to get back to pristine walls? For advice, I turned to Albert Ridge of Ridge Painting in NYC. Albert, who grew up in County Galway, Ireland, and is known in my northern neck of the city as the most meticulous housepainter around. “Covering up imperfections is all about the art of disguise,” Albert says. Here are his tips.

1. Remove nails gently.
Try first with your hands before getting out a hammer or pliers.

2. Assess the damage.
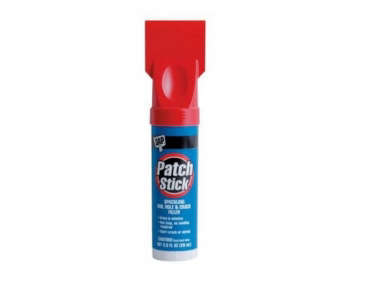
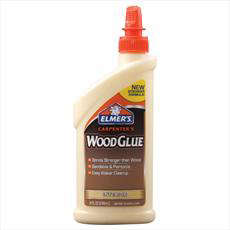
If it’s a pin-size hole on a white wall, you can likely get away with applying a touch of filler or paint with a cotton swab. (For paint tips, see below.) But if the hole is noticeable, you have to plug it. Albert recommends spackling or caulk or Elmer’s Wood Glue, and you can use your finger to work it in and then level it. Some people use white toothpaste; Albert says, “Don’t go there. You need a material that adheres and doesn’t crack.” Also useful to have on hand: DAP Patch Stick Spackling Nail Hole and Crack Filler.
3. Even the surface with a damp cloth.
“You don’t want a blob,” Albert says. “The key is to just cover up the hole, not the area around it or you’ll end up with a splotchy patch.”
4. Let completely dry and then gently smooth with a fine grit sandpaper.
If your compound has shrunk, apply a second coat.

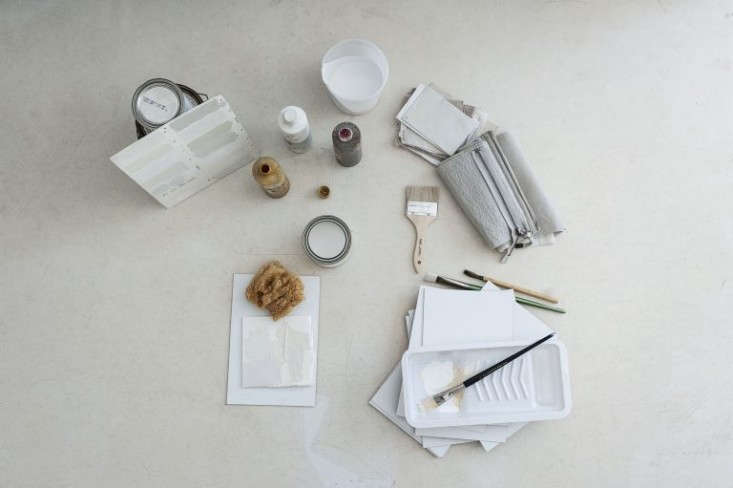
5. Match the paint.
A tiny patch can be covered up with paint that’s the same color and finish as the wall. Apply it with an artist’s paintbrush or a cotton swab—”use one side to dab it on and the other to soften it out,” Albert says. A larger patch often requires a bit more finessing because wall colors weather and age over time: Consider adding a bit of colored tint, such as burnt umber or dark beige blended into the original (bring a sample, if possible, or a photo and your paint store will help). Tip: When painting walls, put aside a small labeled can or bottle to keep on hand as touch-up paint.
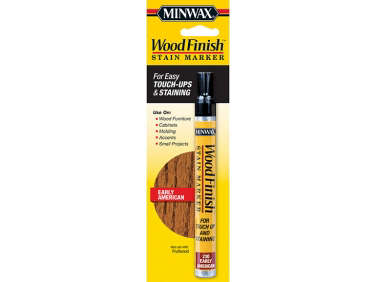
6. Tackle nail holes on wooden doors and paneled walls much the same way.
Plug the hole and then camouflage it. Albert uses Minwax Stain Markers: They touch up patches and nicks—until you deck the halls again.

What are your own nail hole solutions? Fill us in in the comments section below.
Go to Palette & Paints for more ideas and advice, including:
- Paint Colors with Cult Followings: 10 Picks from the Remodelista Architects & Designer Directory
- How to Paint Kitchen Cabinets: 5 Tips from Albert Ridge
- Expert Advice: 12 Essential Tips for the Perfect Paint Job
N.B.: This post is a rerun; the original story ran on January 12, 2017.
Have a Question or Comment About This Post?
Join the conversation (3)