If you’ve ever picked up a roller and brush and painted a room, you may have quickly learned (as I did) that it’s not necessarily as easy as it looks. It’s not that painting itself is hard; it’s the prep work and the attention to detail that’s required, both of which go a long way toward elevating the end result. So, for some expert advice, we turned to Philip Reno, one-time proprietor of G & R Paint Co. in San Francisco, auteur of the Philip’s Perfect Colors line of paints. Reno has spent the past two decades as a master painter, faux finisher, and color consultant—and he was one of our original go-to experts from the early days of Remodelista. Here are his paint prep tips.
Remodelista: Where do you begin when you paint?
Philip Reno: It may sound silly, but I always tell my clients three things:
- Don’t be hungry. Hunger will lead to sloppy work, so always have snacks and things to nosh on while working.
- Don’t be in a hurry. Plan to paint. If you rush, accidents will happen.
- Play music you love, and you will fool yourself into having a good time. It changes the whole approach.
RM: So once we’ve lined up snacks and music, what should we think of next?
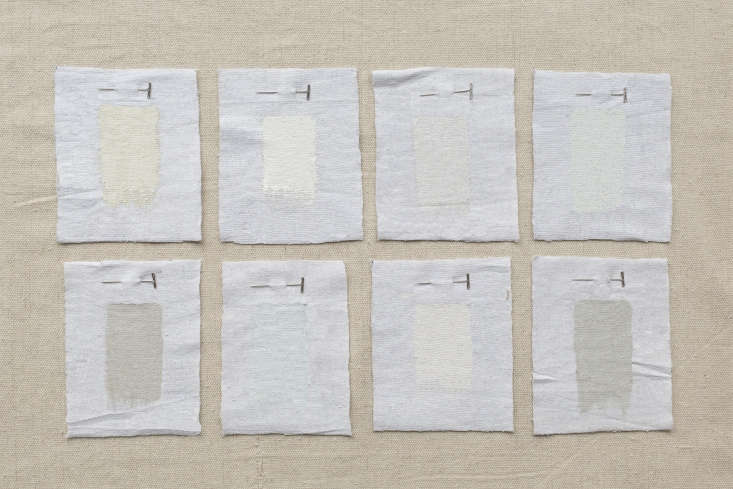
PR: Don’t start to paint before you’ve made a definitive color choice. People think they should walk into a paint store and pick a color, then paint straight away. It’s a process. You have to sample paint and live with it first.
RM: So how do you choose a color?
PR: This is difficult for just about everyone. It’s a huge discussion, and people come to it from every direction. Colors will look different depending on the light in a room. Sampling is a process that should be done before a room is torn apart. A color can look completely different in two different rooms, so live with a sample color for a while.

RM: Prep?
PR: The more time up front you spend doing prep the easier the paint job will be. Move the furniture to the middle of the room and cover everything completely. Then, the most important thing is to make sure the surface to be painted is clean. Taking a duster cloth to the walls is enough unless there is obvious grime. Oil from hand prints around door knobs might be invisible so use household detergent to remove grease as this may be the one spot where the paint won’t stick. Wash all walls in the kitchen and bathroom, the environments that get the most dirty. You may not see it, but steam from a shower is carrying soap to a wall.
RM: Nail holes and the like?
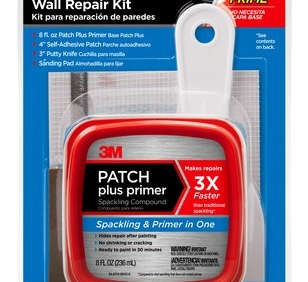
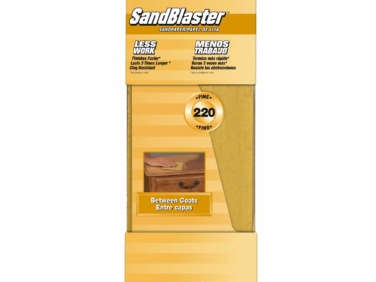
PR: Spackle nail holes. There is a great new product I am in love with called 3M Patch Plus Primer, which is basically a spackle with primer. Use sandpaper for sanding spackled patches or chipped areas on wood trim. And get a piece of 220 Grit Sandpaper for general purpose sanding. [N.B.: For more on the subject, see Remodeling 101: How to Patch Nail Holes, Tips from a Master Painter.]
RM: Essential tools?
PR: Quality tools will make this job better for amateurs. People can wrap their mind around buying good quality paint, but then want to use the cheapest applicators. The amateur in particular needs a better tool to make the job go better.
RM: So what are the best tools to use?
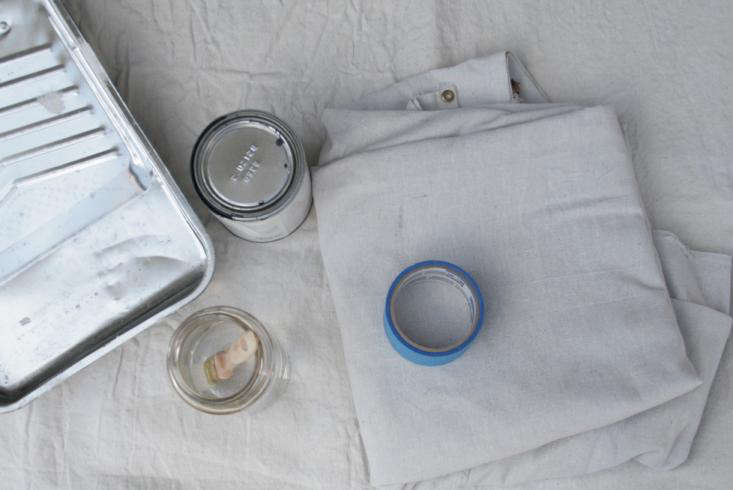
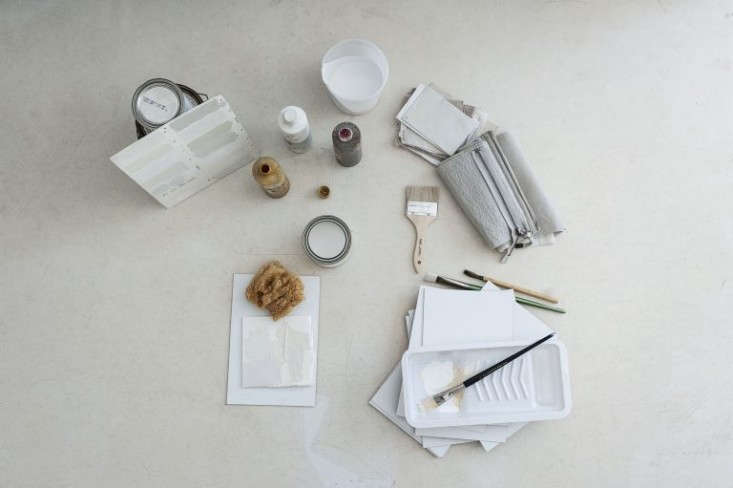
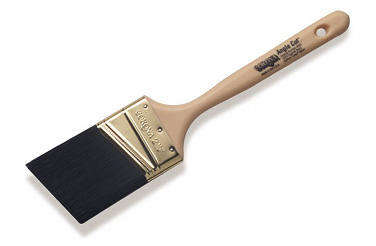
PR: The most useful brush that covers most things is a 2- or 2.5-inch angle sash brush. It cuts into corners and covers 90 percent of what needs to be done. Corona makes the best brush on the market, no question. For roller covers, I recommend a three-eighth-inch nap. It covers most things. Wooster is my favorite and our number-one seller. Use a good quality blue painter’s tape with edge-lock technology. There’s nothing better than the 3M Painter’s Tape with Edge Lock.
RM: What’s next?
PR: I think we’re ready to paint! Work from top to bottom. Paint the ceiling first. You don’t need to use a ladder; save your back and neck and buy an extension pole for the roller. You can go from side to side with your roller, and being on the ground means you can stand back and see what you are doing. After the ceiling, paint the walls, then the trim.
RM: What primer do you recommend?
PR: A good all-purpose primer will suffice for most things. Every brand will make an all-purpose acrylic primer. C2 makes a good one, and if you had nothing else this will get you there most of time. There is a lot of marketing of all-in-one paint with primers, but these can be misleading.
RM: Suggested paint finishes?
PR: For most walls and living spaces, like a hallway, bedroom, or a ceiling, flat paint is the way to go as it shows the fewest imperfections; it’s especially good for an older house. Matte finish has a slight angular sheen and is more washable, so it’s good for houses that get a lot of wear and tear. Reserve satin semigloss for trim, kitchens, and bathrooms. High gloss is more rarefied. Use it for places like trim or cabinets where you want to make a high-impact statement—it’s an aesthetic voice.

RM: How do you handle brushes and rollers between coats?
PR: Wrap the roller in Saran Wrap or an old plastic bag in between coats. You don’t want to wash it out. At the end of the job, leave the roller cover to dry and throw it away when done. If you’ve bought a good brush, then you can clean it and it will last for years and years. I recommend getting a paintbrush comb; they’re cheap and will help you clean the brush and get paint out of the heel of the brush.
RM: Final bit of advice?
PR: This is obvious, but it gets overlooked. Read the directions on the back of the can. It will let you know how many square feet is covered per gallon and if it specifies letting the paint dry for four hours then wait four hours!
Need to find the perfect white or neutral? Check out the picks from our experts:
- Architects’ White Paint Picks
- Architects’ 8 Favorite Cool-Toned Neutral Paints
- Architects’ 8 Favorite Warm Gray Paints
N.B.: This post is an update; the original story ran on May 24, 2013.




Have a Question or Comment About This Post?
Join the conversation (9)