Confession: For most of my twenties, I slept on a single mattress on the floor (no box spring, and not a very good mattress at that). It was only recently that I came to understand the life-enhancing benefits of a bed with all the right components: a sturdy frame, a luxurious mattress, and an array of natural linens and blankets.
Here at Remodelista, we’re drawn to personality-filled (but serene) bedrooms that often include a few strategic DIY solutions. We like a good storage headboard, recessed shelving above the bed, and DIY headboards (everything from macramé to old doors). We also place a high premium on restful room designs (see 10 Secrets for a Better Night’s Sleep). In that spirit, I’m happy to report that I’m now sleeping on a platform bed, and to give it a finished look (and a place to prop my pillows), I recently decided to make my own headboard out of nothing more than a birch board and pastel paint.
Photography by Alexa Hotz for Remodelista.

Materials
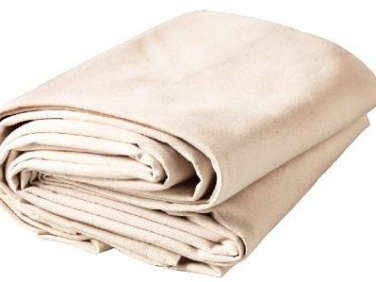
- A 9-by-12-foot painter’s Canvas Drop Cloth ($22.99 from Ace Hardware)
- Paint brushes of your choice and a Metal Paint Tray ($6.95 from MSC Industrial Supply)
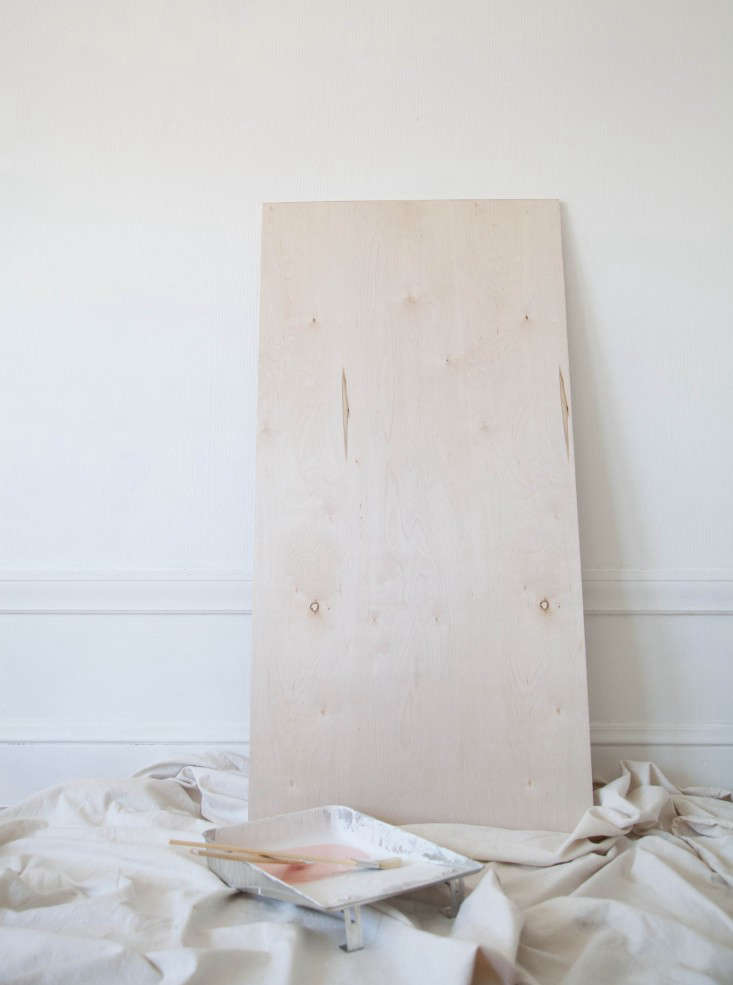
- 1 quart of paint; I chose Benjamin Moore’s Ben Interior Paint in Eraser Pink, eggshell finish ($17.99)
- 1 wooden board; for my queen-sized mattress, I used a panel of birch 50 inches wide and 70 inches tall, a good height to prop up on the back of the platform frame.
Instructions


The Finished Look


More simple DIY projects to tackle:
- DIY: A Leather-Detailed Wooden Doorstop
- Weekend DIY Projects: 7 Wooden Storage Solutions from The Merrythought
- The Shingled House DIY: Easy Burlap Shades (for Less Than $20 Each)

Have a Question or Comment About This Post?
Join the conversation (1)