Those of us who grew up in New England are used to making do with what's available. Long before coat closets became the norm, people hung their clothes on rows of hooks or pegs (think of the Shakers).
Create your own row of storage hooks using the following blueprint (a hidden benefit: you can customize it to fit any space or need; in my case, beach towels).

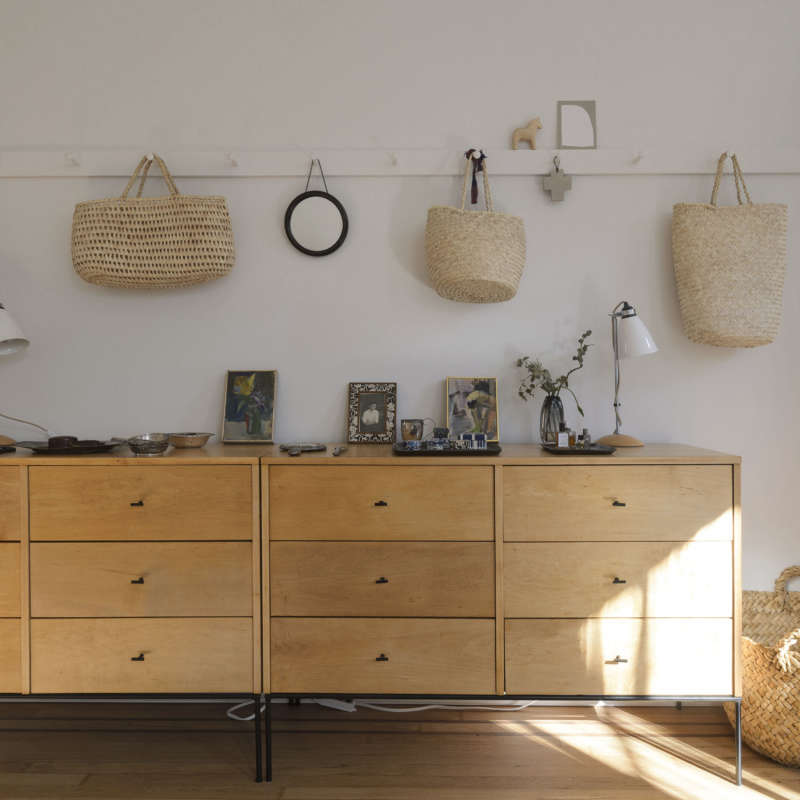
Above: My Auntie Jessie made this custom coat hook rack for her guest room (see more of this home at Designskool).

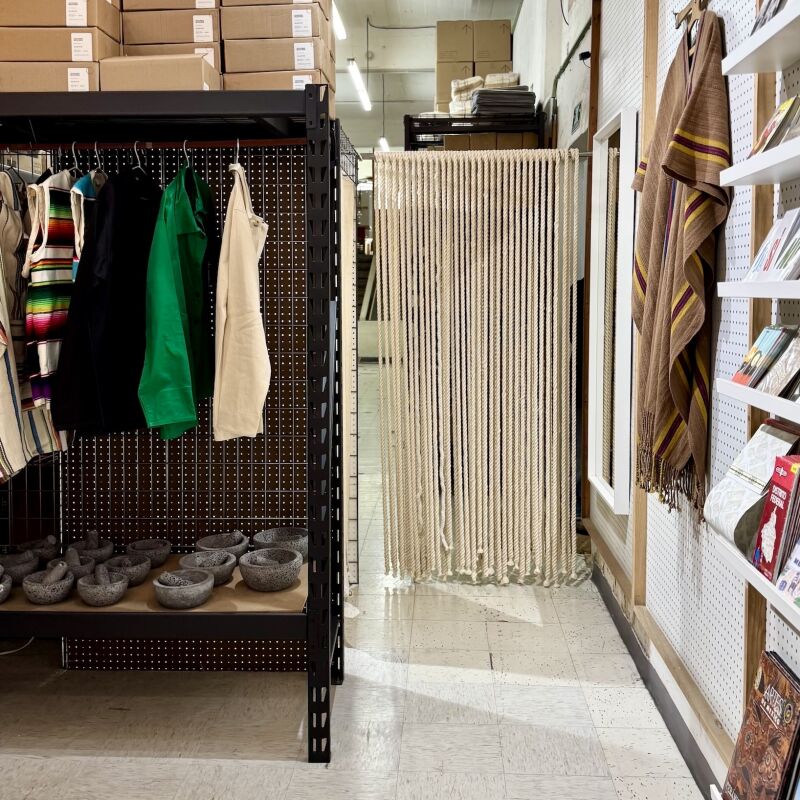
Above: Vintage hooks like these are easy to find at your local flea market or antique store. You can also find them on eBay or Etsy.
For this project, you will need:
- Antique hooks
- A 3/4-inch-thick length of wood (new or salvaged)
- Short screws to affix the hooks to the board
- Longer screws to secure the board to the wall
Step 1: Select a board that fits the length of wall that you wish to cover. If the wood is unfinished, consider staining it or painting it.
Step 2: Mark the hook spacing using a pencil (space the hooks at least 8 to 12 inches apart to give garments or towels room to breath).
Step 3: Once you've determined the spacing of the hooks, screw them into the board, using short screws that won't go through the board.
Step 4: Using longer screws, fasten the board to the wall in at least two places (you may need more for longer boards). Paint the screws the same color as the board or leave them exposed for a more rustic look.

Above: The finished product, made with a piece of salvaged board, holds beach items on my porch.

Have a Question or Comment About This Post?
Join the conversation