Earlier in the week we featured the home of artist and graphic designer Wendy Furman, who had turned her second bedroom into a showroom for Whim & Caprice, her line of pillows and table linens. Not seen in the post was this clever wall of display shelving that Wendy created herself.
As she tells us, "These shelves were a simple case of form follows function. I needed something to display the pillows at home and something simple that had portability for shows. It wasn't about the expense but the function. I made my first set of shelves for the Remodelista Market in LA and they worked really well. I also loved that there was this element of reusability; once the show was over, I could use the boxes for shipping the pillows."
Read on for DIY instructions.

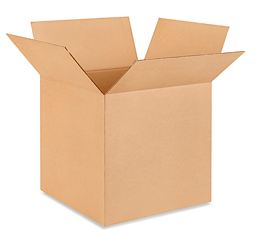
Above: Floor-to-ceiling boxed shelving in Wendy's second bedroom. Wendy uses 18-cube-inch Corrugated Boxes ordered from Uline ($1.64 per box for a minimum order of 20).

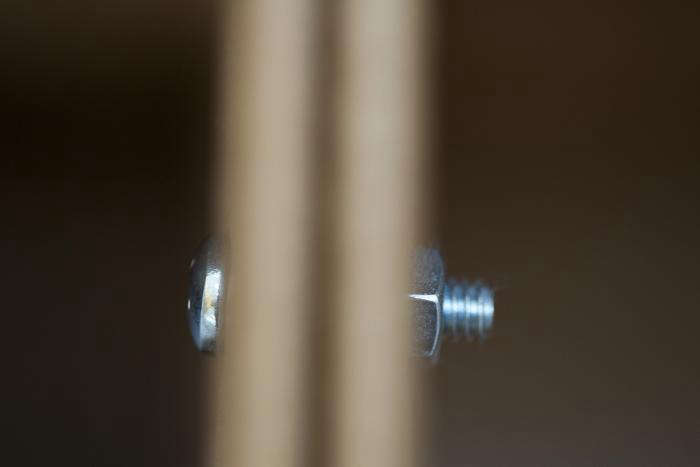
Above: Wendy used 1-inch nuts and bolts for the front of the box where the cardboard doubles over; then three-quarter-inch nuts for the back of the box where the cardboard is only one layer.

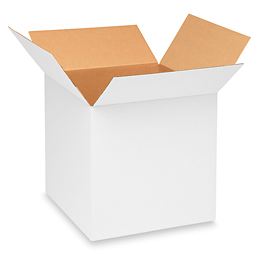
Above: The box flaps are folded inward and screwed down with two nuts and bolts at the front and one in the middle at the back. The center column is attached together with a nut and bolt on either side of the the box. Wendy created a base for the display from boxes that she cut in half.
Above: Use a screwdriver to poke holes for the nuts and bolts.

Above: Wendy suggests reinforcing each level with an extra piece of cardboard, inserted under the folded flap and taken from the side of a box if you want to make them to carry a heavier load. That said, the boxes can support up to 200 pounds in weight.
In case you missed it, see more of Wendy's house here: Living Large in a Tiny House, Downsizing Edition.
If you favor wood over cardboard, check out our DIY Wood Shelving post.
Explore more Storage.


Have a Question or Comment About This Post?
Join the conversation